Logging On to the DEI
-
Use a web browser to go to the CAASPP and ELPAC Interim Assessments web page and select the [DEI—Data Entry Interface Logon] button (refer to figure 1).
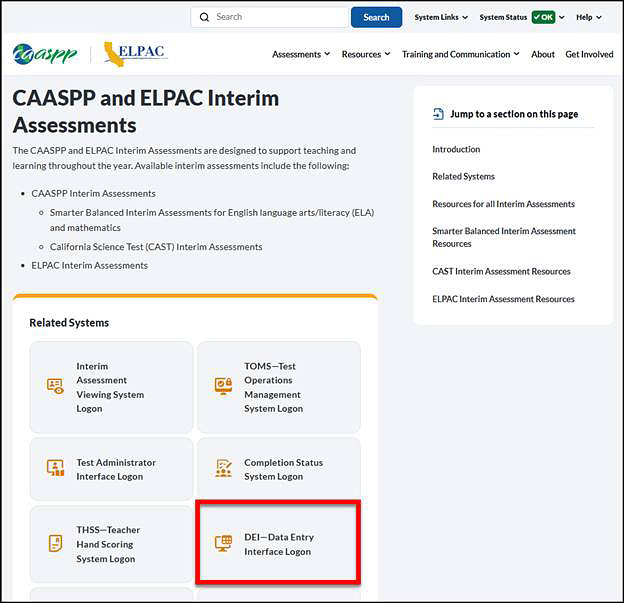
Figure 1. CAASPP and ELPAC Interim Assessments web page with the [DEI—Data Entry Interface Logon] button
-
On the user Logon screen, after entering the user’s TOMS username, which is the user’s email address, and password, select the [Secure Logon] button (refer to figure 2).
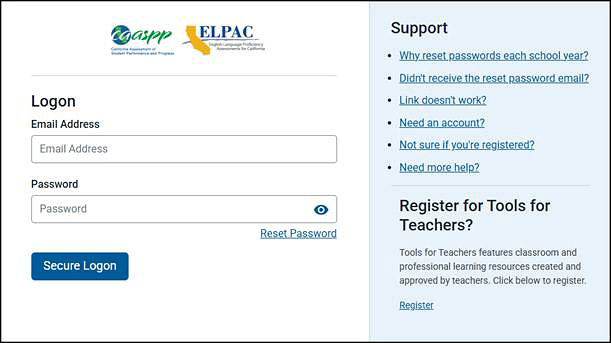
Figure 2. DEI Logon screen
-
When the Enter Student Information screen opens, enter the student’s first name in the Student First Name field and the student’s SSID in the SSID field (figure 3). Then, select the [Sign In] button.
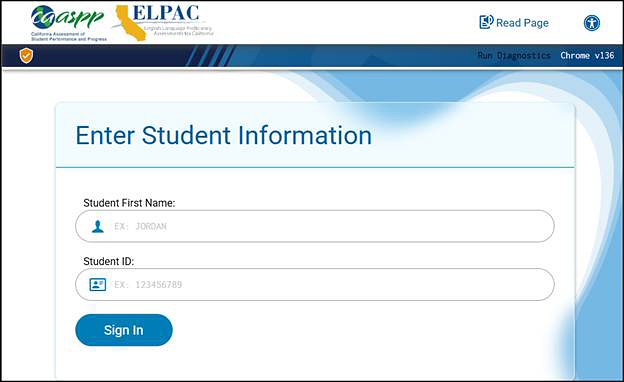
Figure 3. Enter Student Information screen
-
Verify the student’s personal information on the Is This the Student? screen (refer to figure 4), and then select the [Next] button.

Figure 4. Is This the Student? screen
General Instructions for Entering Scores for ELPAC Interim Assessments for K–12 Speaking and K–2 Writing in the DEI
This subsection describes the general instructions for entering scores in the DEI for the computer-based ELPAC Interim Assessments for K–12 Speaking and K–2 Writing.
-
Refer to the Logging On to the DEI section of this manual to log on to the DEI in preparation for entering scores. On the Available Tests screen, select the appropriate ELPAC Interim Assessment with scores to be entered into the DEI (refer to figure 5).

Figure 5. Available Tests screen
-
The Instructions and Help screen, shown in figure 6, is the same as the one that is used by a student taking a computer-based assessment.
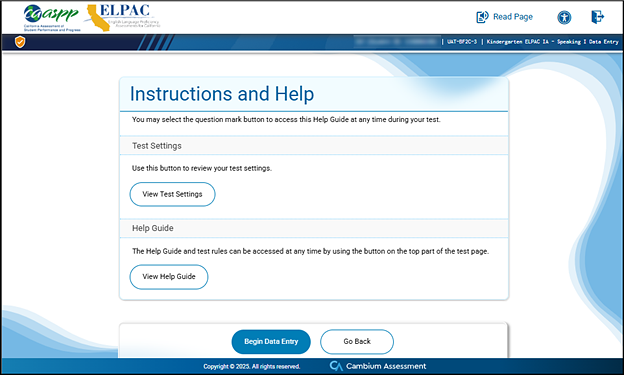
Figure 6. Instructions and Help screen
- Select the [View Test Settings] button to review the test settings used by the student in the TDS and assigned in TOMS. Note that these cannot be changed in the DEI.
- Select the [View Help Guide] button for an overview of the buttons the user will encounter in the DEI; these are the same buttons and tools that a student encounters in the TDS. The guide is available on all screens by selecting the [Help] question mark [?] button in the top-right corner of any screen.
- Select the [Begin Data Entry] button to enter the scores for the interim assessment, or select the [Go Back] button to exit.
-
The first item for scoring in the DEI will match the same first test item from the student secure browser or the Student Score Sheet (refer to figure 7). Follow the instructions and scripts in the DFA for the specific ELPAC Interim Assessment while administering the assessment. Refer to the rubrics provided in the DFA for scoring the student’s responses.
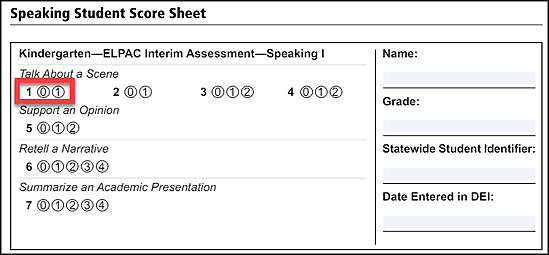
Figure 7. Sample Speaking Interim Assessment Student Score Sheet
-
If the score is identified on the Student Score Sheet, refer to the DEI screen and select the appropriate score (“Score 0,” “Score 1,” “Score 2,” etc.) for that item (refer to figure 8).
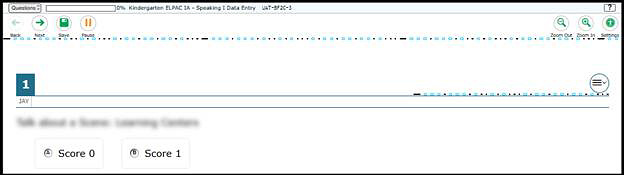
Figure 8. DEI Score Entry screen
- After selecting the appropriate radio button for the score, select the [Next] button in the top-left corner of the DEI screen (indicated in figure 8) to continue to the next question.
- Continue entering scores in the DEI in this manner. During the administration of the Writing interim assessment for K–2 or the Speaking interim assessments for students in K–12, write on the Student Score Sheet if the student was unable to respond to any more questions to indicate that testing was completed for this interim assessment. Skip all remaining items in the DEI after this point by selecting the [Next] button in the top-left corner of the DEI screen.
-
On the screen for the last question, select the [Next] button (outlined with a box in red) in the top-left corner of the screen (refer to figure 9).
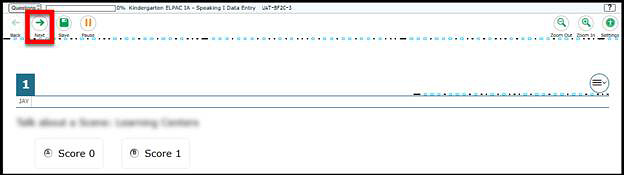
Figure 9. [Next] button to end the assessment
- After selecting [Next], the Data Entry Summary screen will show any questions that did not have a score assigned (refer to figure 10). Select a question number with the triangle symbol to go back to that question to assign a score if a score was recorded on the Student Score Sheet. Do not readminister any questions that did not have a score assigned. Once all scores have been entered, select the [Submit Test] button.
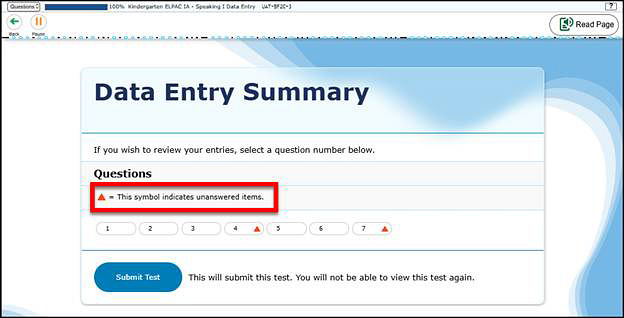
Figure 10. Data Entry Summary screen
- After selecting [Submit Test] button, the Attention message box will appear and ask to verify test submission (refer to figure 11). Select the [Yes] button if all score entries have been completed.
Figure 11. Attention message box
- After selecting the [Yes] button, the Test Submission Record screen will indicate that the assessment has been submitted (refer to figure 12).

Figure 12. Test Submission Record screen
- Select one of the following buttons at the bottom of the screen:
- [Log Out] button—Exit the DEI.
- [Enter Responses for a Different Test] button—Enter responses for a different assessment (if there are more associated assessments for the student).
- [Enter Responses for a Different Student] button—Return to the Logon screen to start the process over for a new student.
- Securely destroy all Speaking and Writing Student Score Sheets after scores have been entered in the DEI and are displayed in CERS.