How to Administer Interim Assessments Remotely
Administering the interim assessments remotely can vary slightly from administering them in person. Quick steps and detailed instructions for administering the interim assessments remotely are located in this section. Additional resources—including videos for students and parents/guardians—are located in the Videos and Quick Reference Guides section of the CAASPP Online Test Administration Manual Remote Testing chapter.
Quick Steps
Educators may use Zoom, Google Meet, or a similar method to share the session ID and to provide support for students throughout the logon process.
- In a web browser, navigate to the Test Administrator Interface Logon web page, and log on using the same TOMS logon credentials used at school.
- Select a session type of Remote or Hybrid.
- Select the assessment that will be administered.
- Start the test session and give the students the session ID that is generated.
- Direct students to either the secure browser or the web-based Student Testing Interface in a Chrome, Firefox, or Edge web browser.
- If students are using the secure browser, they will need to close any videoconferencing software and other programs to open the secure browser.
- If students are using the web-based testing interface, they can stay in a video call to receive support. However, they should disable their camera in that call to avoid conflicts with the web-based testing interface.
- After the students log on and select the assessment to be administered, approve them into the session so that they may begin the assessment.
- After all students complete the assessment, stop the test session, and log off.
Detailed Instructions
Remote administration of interim assessments is similar to administration in person. Educators may use Zoom, Google Meet, or a similar method to share the session ID and to provide support for students throughout the logon process.
-
In a web browser, navigate to the Test Administrator Interface Logon web page, and enter the same TOMS credentials used at school (figure 1).
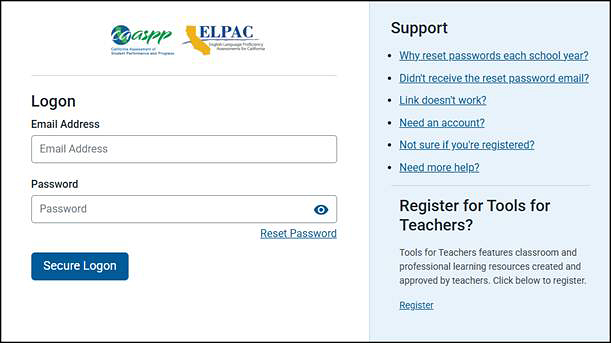
Figure 1. Logon screen
-
Select Start a Remote Session (figure 2). Selecting a remote session will enable the new communication and monitoring tools embedded within the testing interface—also known as the communication widget. If you are using Zoom, Google Meet, or a similar program to communicate with students during the assessment, selecting Start an In-person Session prevents the communication widget from appearing.
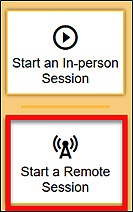
Figure 2. Radio button to select remote session
-
Select the [Arrow] button for Smarter Balanced, CAST, or ELPAC interim assessments (figure 3) to expand the list and access options.

Figure 3. Interim assessments [Arrow] buttons
-
Use the [Plus] plus sign [+] buttons (figure 4) to select the applicable subject and grade level, grade span, or grade band. Note that a [Minus] minus sign [−] button will replace the [Plus] plus sign [+] button once the list is expanded. Selecting the [Minus] minus sign [−] button will collapse the list.

Figure 4. Interim assessments [Plus] buttons
-
Check the box for the desired assessment (figure 5).

Figure 5. Checkboxes for two grade-three assessments
- Start the test session, and select the manner of administration from the drop-down list (figure 6):
- Nonstandardized
- Standardized
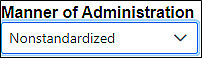
Figure 6. Manner of Administration drop-down list
-
If students are using the secure browser, give the students the session ID that is generated (figure 7). This session ID may be used by all students for the session, but when this session is closed, a new session ID will be required.
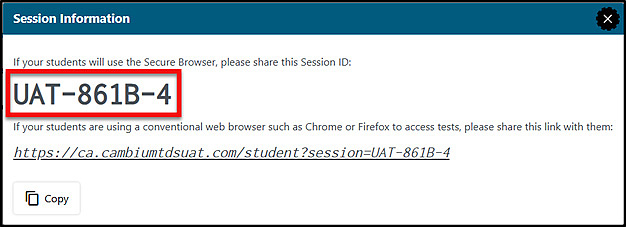
Figure 7. Generated session ID
-
If students are using the web-based Student Testing Interface in a Chrome, Firefox, or Edge web browser, give the students the link that is generated (figure 8), which will take them to the testing interface and fill in the session ID for them.

Figure 8. Generated session link
-
After the students log on, approve the students’ access to the assessment. Select the [Approvals] button (figure 9).
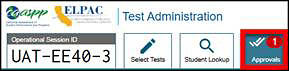
Figure 9. [Approvals] button
-
Either select the [Approve All Students] button to approve all the students or select the [Approve] check mark icon in the Actions column to approve individual students. For students with accommodations or designated supports, select the [Details] eye [
 ] icon to review these prior to approving (figure 10).
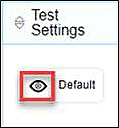
Figure 10. [Details] icon
- For details on how to use new remote monitoring features, access the Monitoring a Remote Test Session video or the Remote Testing Features section of the CAASPP Online Test Administration Manual.
-
To end a session once all students have submitted or had their assessment paused, select the [Stop Session] stop sign button (figure 11).
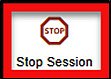
Figure 11. [Stop Session] button
- Log off of the TA Interface.
THSS Section to be reviewed separately on a different timeline.